

English
Add/Edit a User (eZsign Web)
Add a User
From the main menu >> Administration >> Users.
- Click on New User at the top right of your screen.
User Information
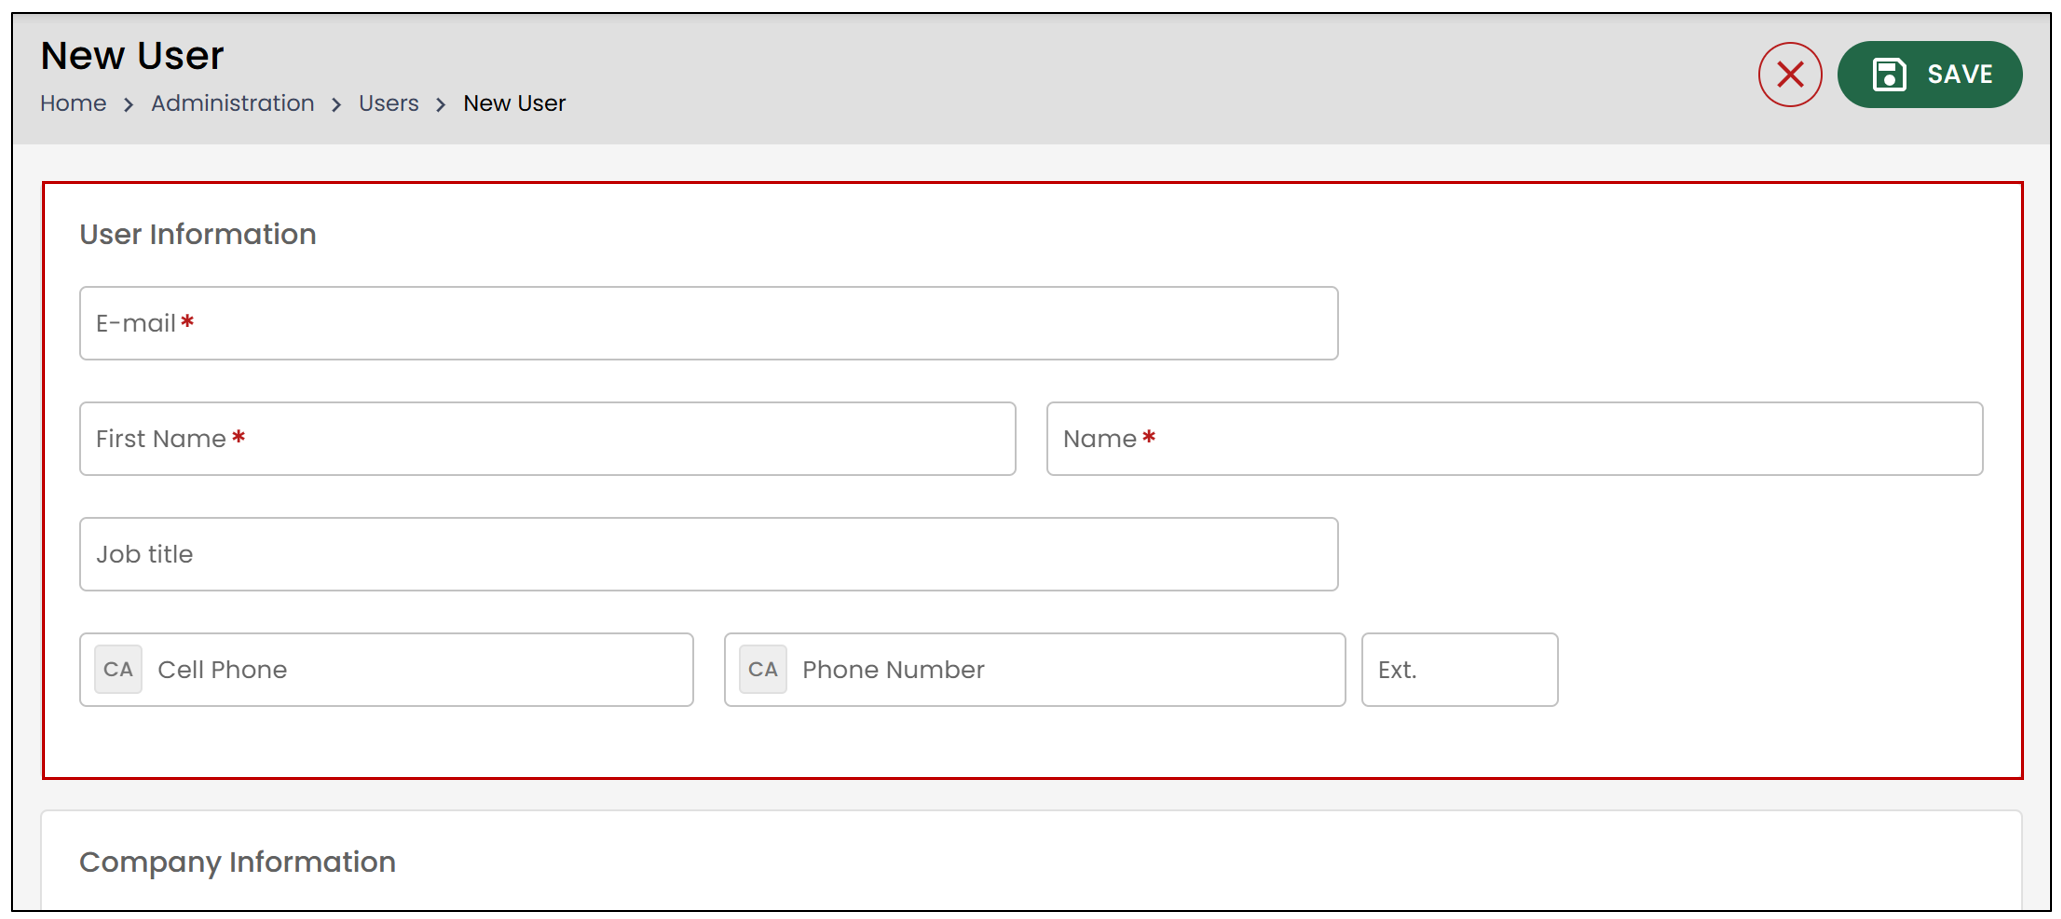
You will need to enter the new user’s email address as well as their first and last name.
Next, you must enter the Job Title , which can later be used as the default value during signing.
You have the option to enter a mobile or phone number. If you select multi-factor authentication Email + phone or SMS , you will be required to complete this field.
Company Information
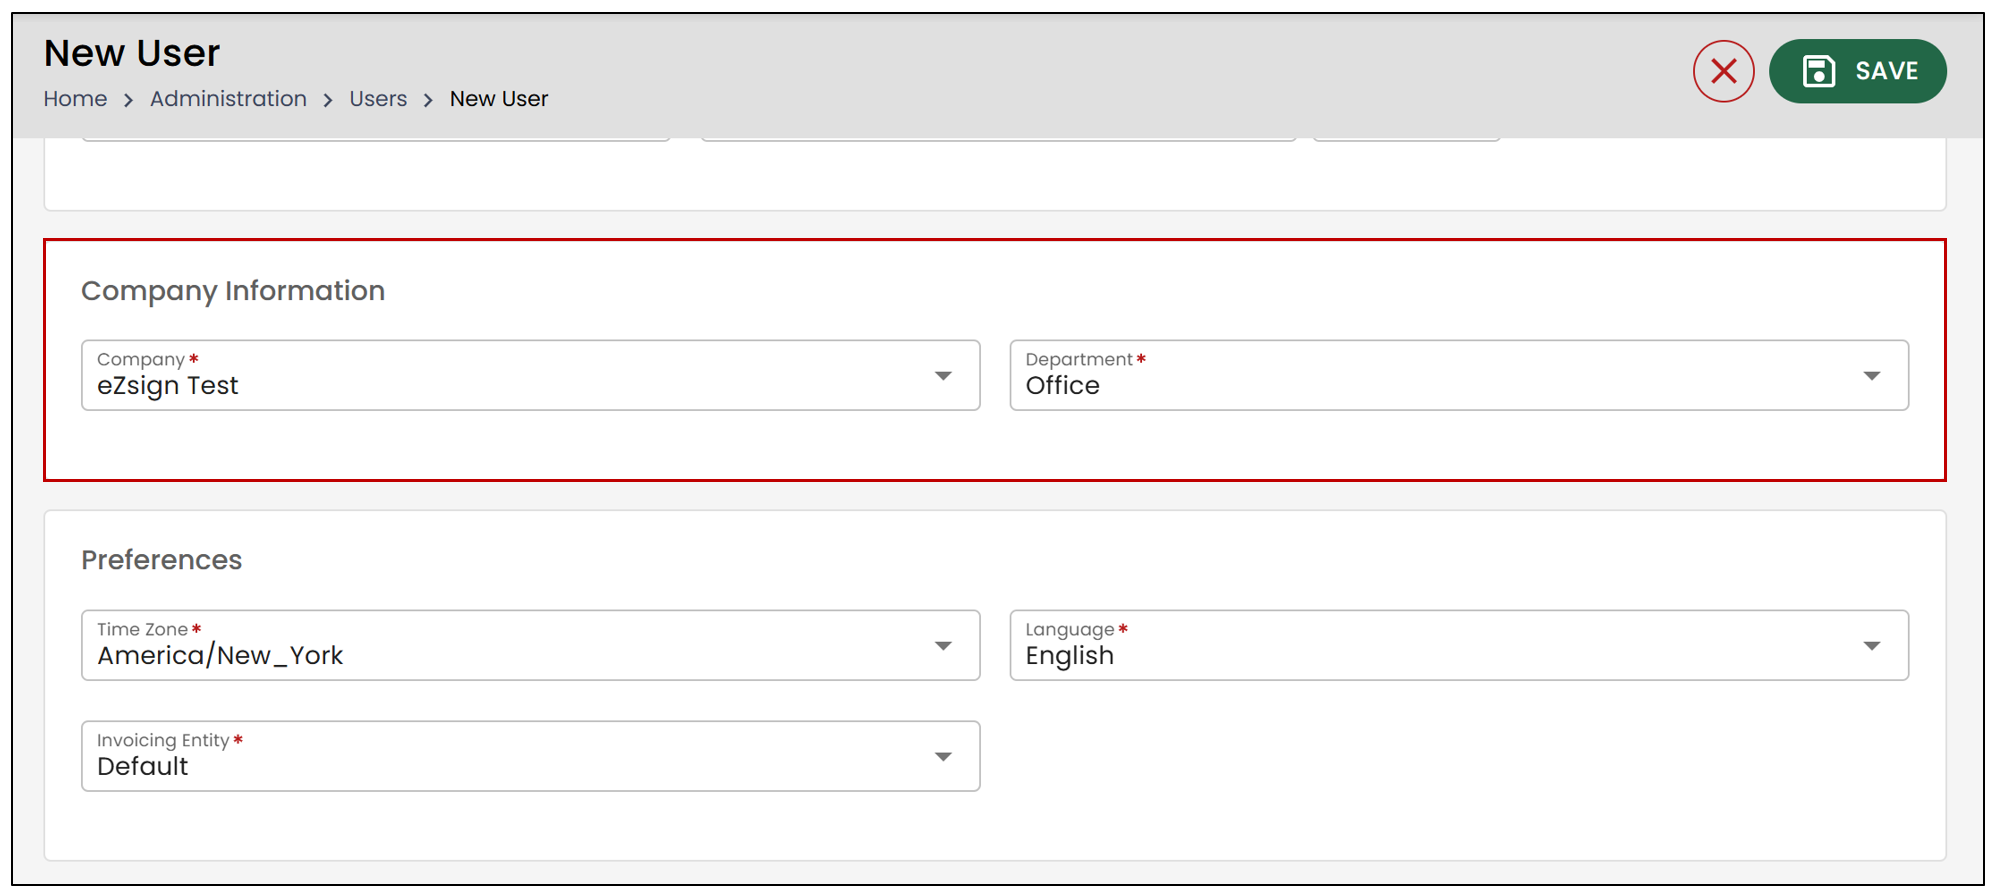
- You will need to enter the Company and Department of the new user (if multiple departments are configured in your account). If there is only one option, it will be automatically displayed as the sole choice in the drop-down menu.
Preferences
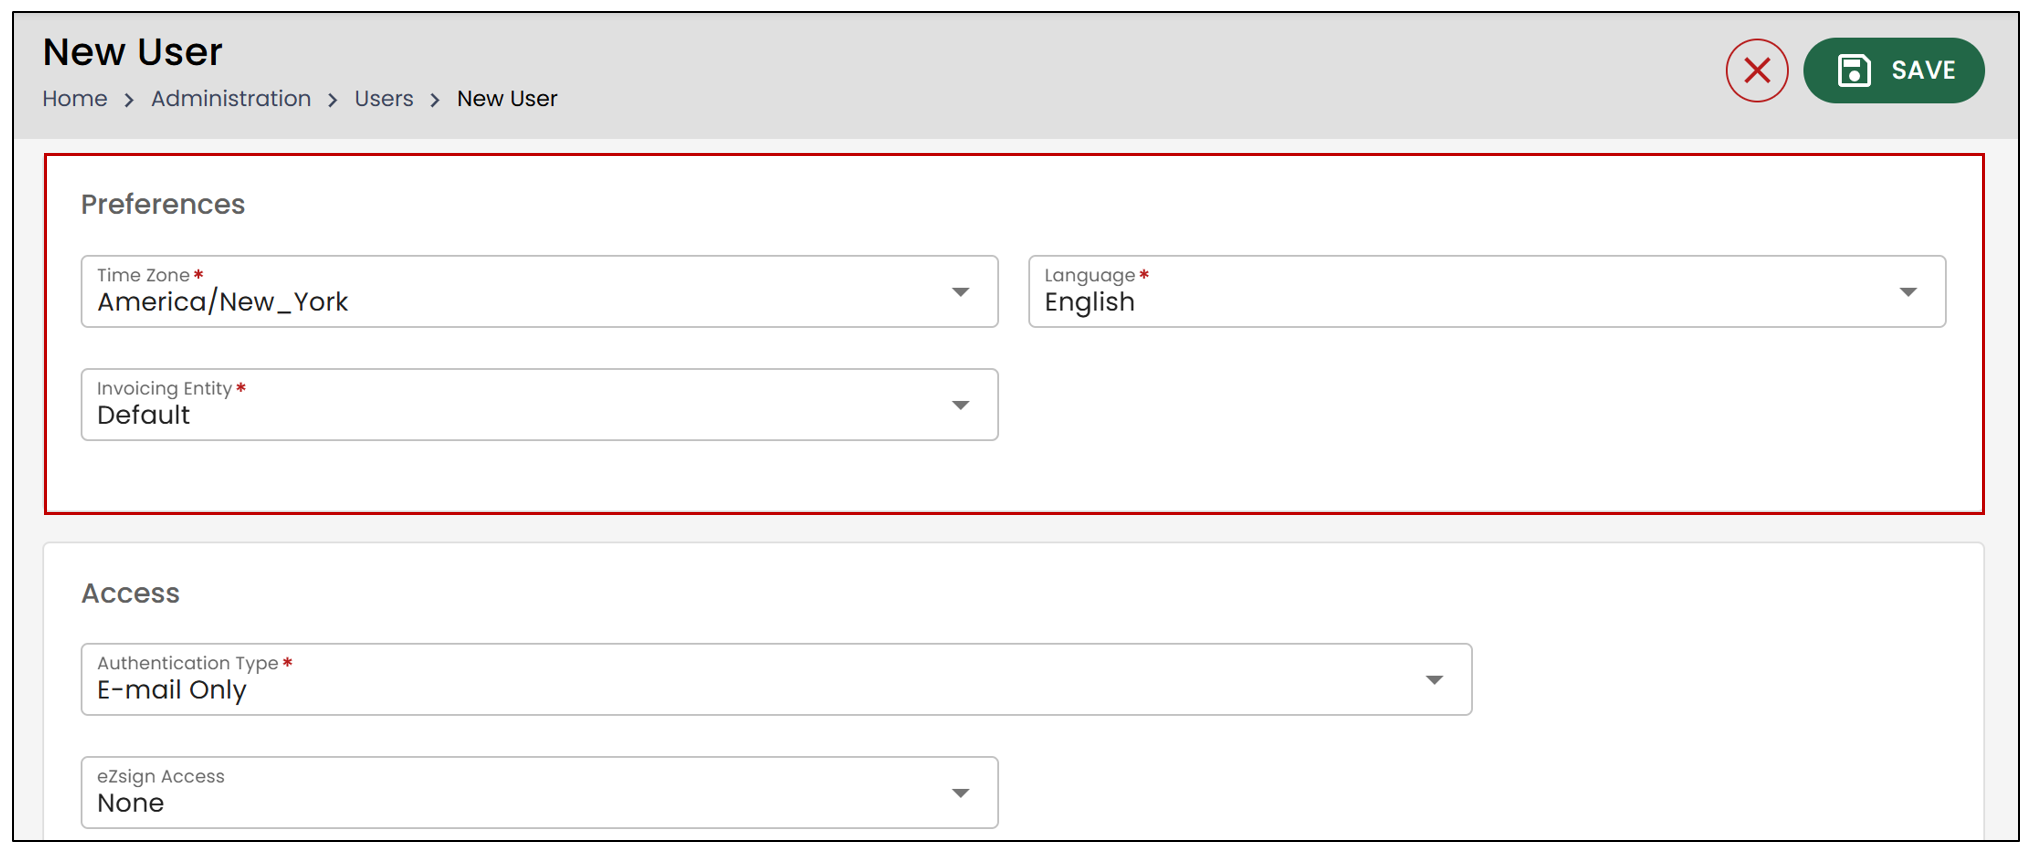
The appropriate time zone will be selected by default, but you can change it manually.
You can also choose the preferred language for this user. This can be modified later by the user if needed.
You will need to select a Invoicing Entity , which will allow the cost of the solution to be allocated among different departments in your organization. If you have not created any billing entities, you will have only one choice.
Access
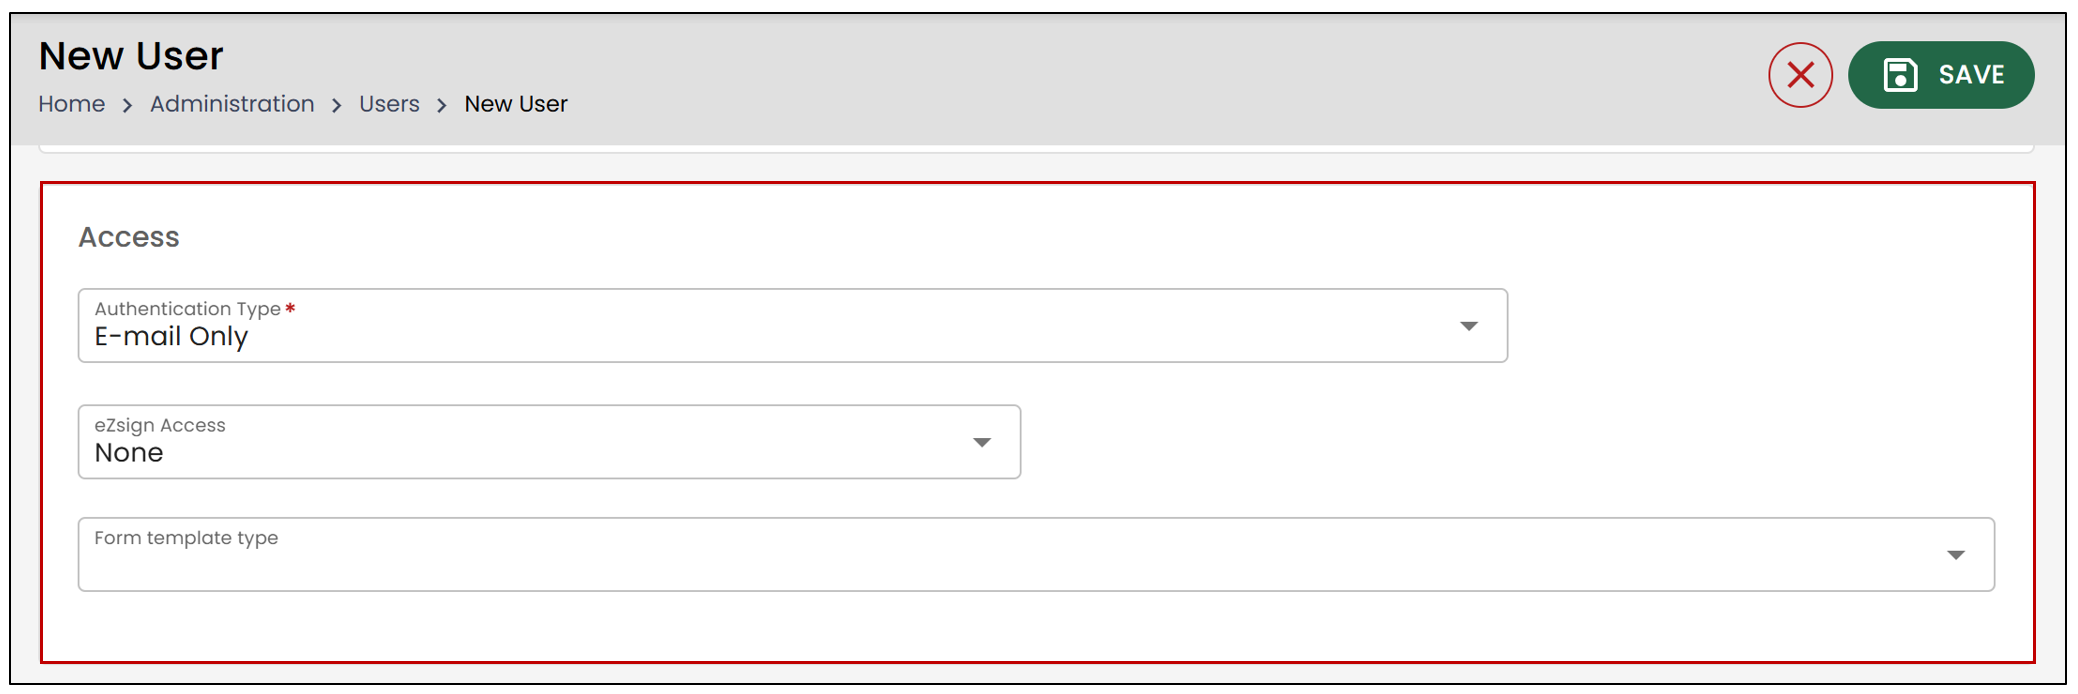
Choose an Authentication Type from the options presented. Depending on your account configuration, some options may not be available.
If you want to allow the user to send documents for signing, select Paid by the Office in the eZsign Access section. If you leave this option as None , the new user will still be able to log in but will not be able to send folders. For example, an administrator could manage administrative functions and view existing folders but would not be able to send or create new folders.
You can select a Form template type that the user will have access to when creating folders.
NOTE: If you select Email + Phone or SMS , you will be required to complete the Mobile and Phone fields.
List of Permissions
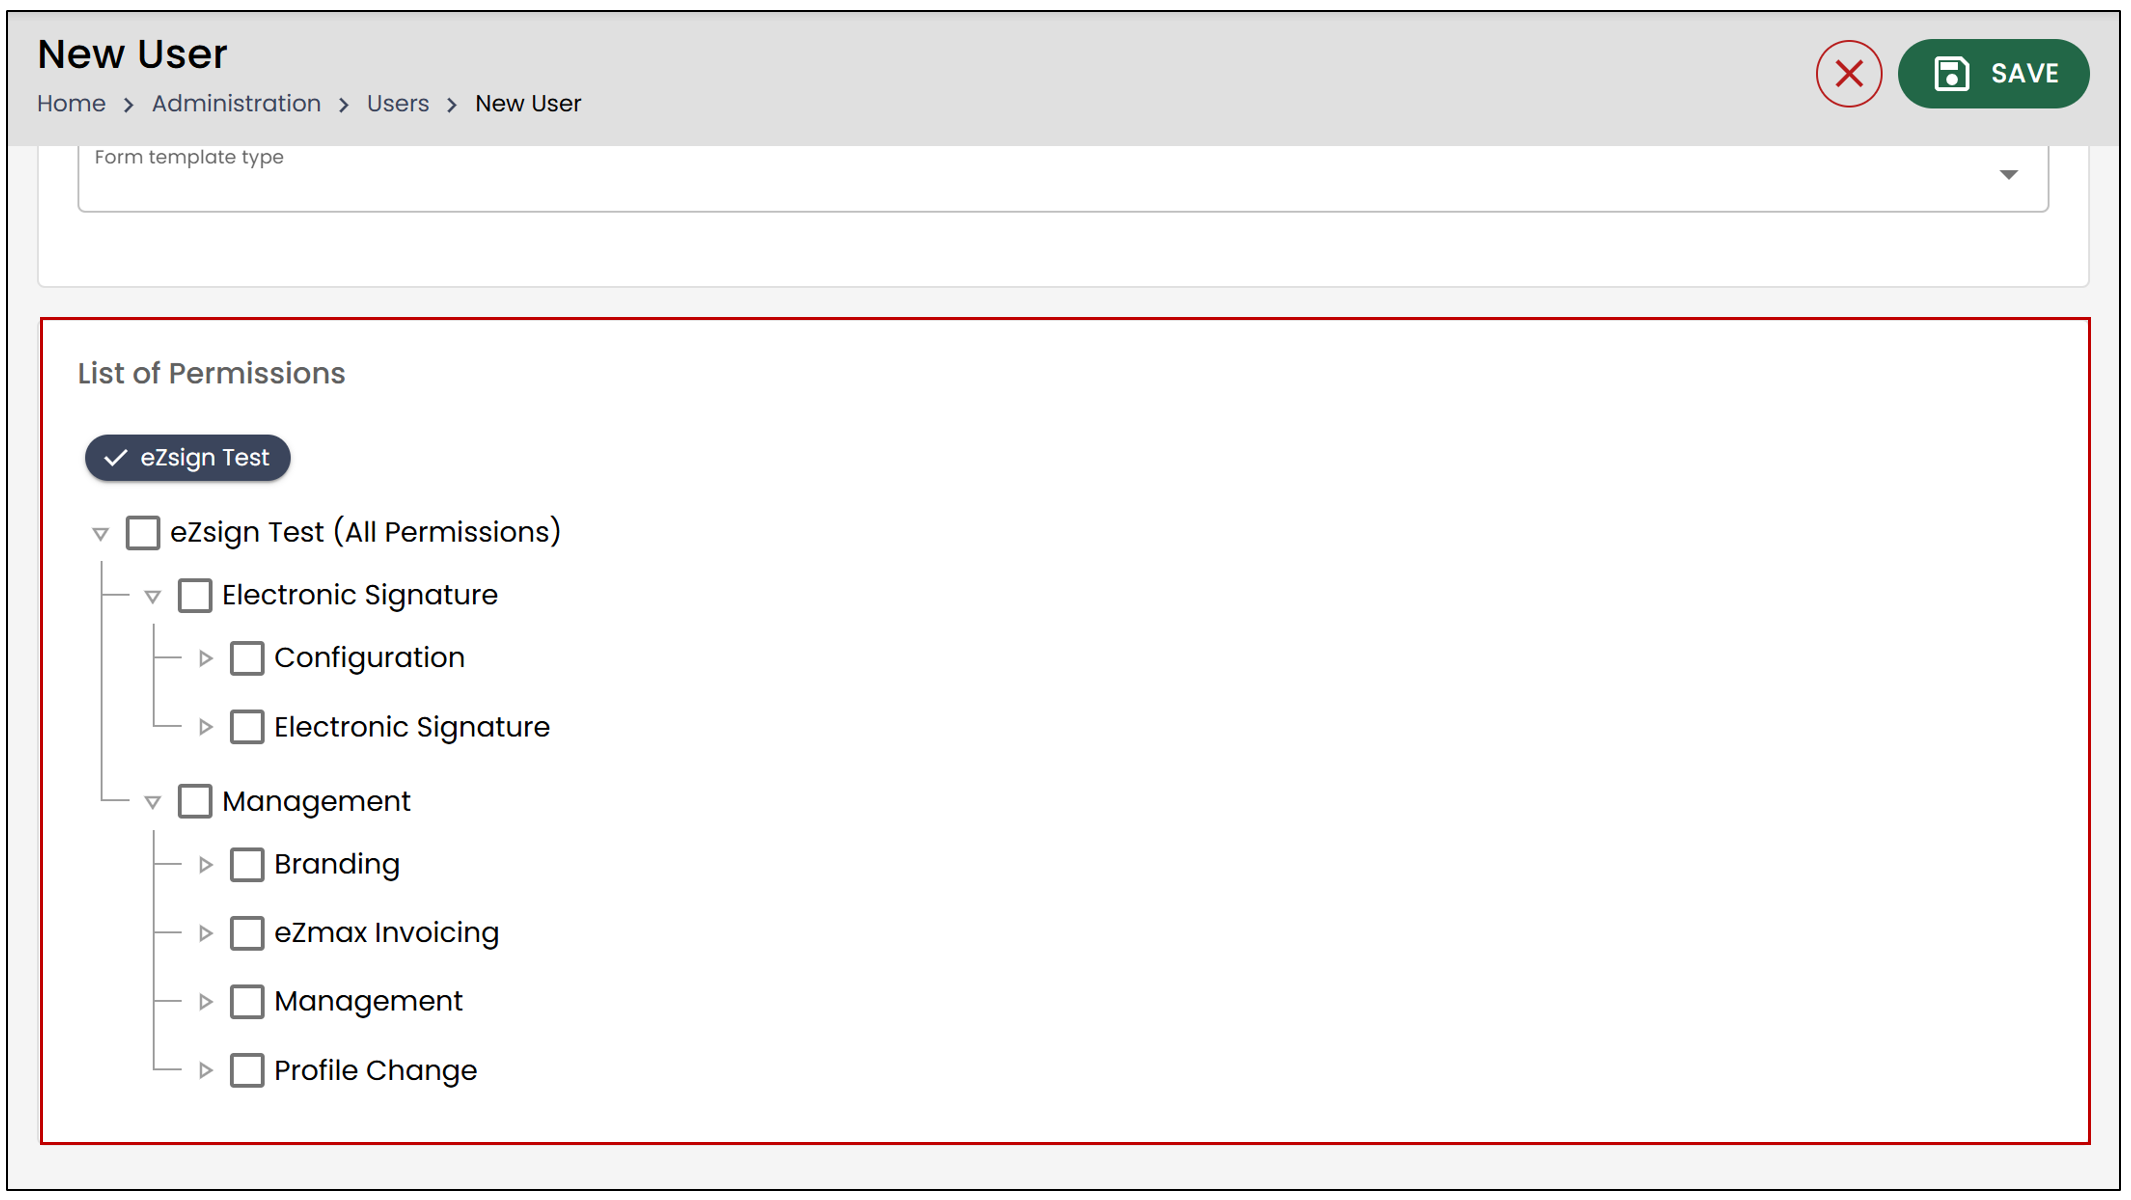
- You have the option to check the desired permissions; the user will only have access to those selected.
For more information about permissions, please refer to the article Permissions Granted to Users in eZsign.
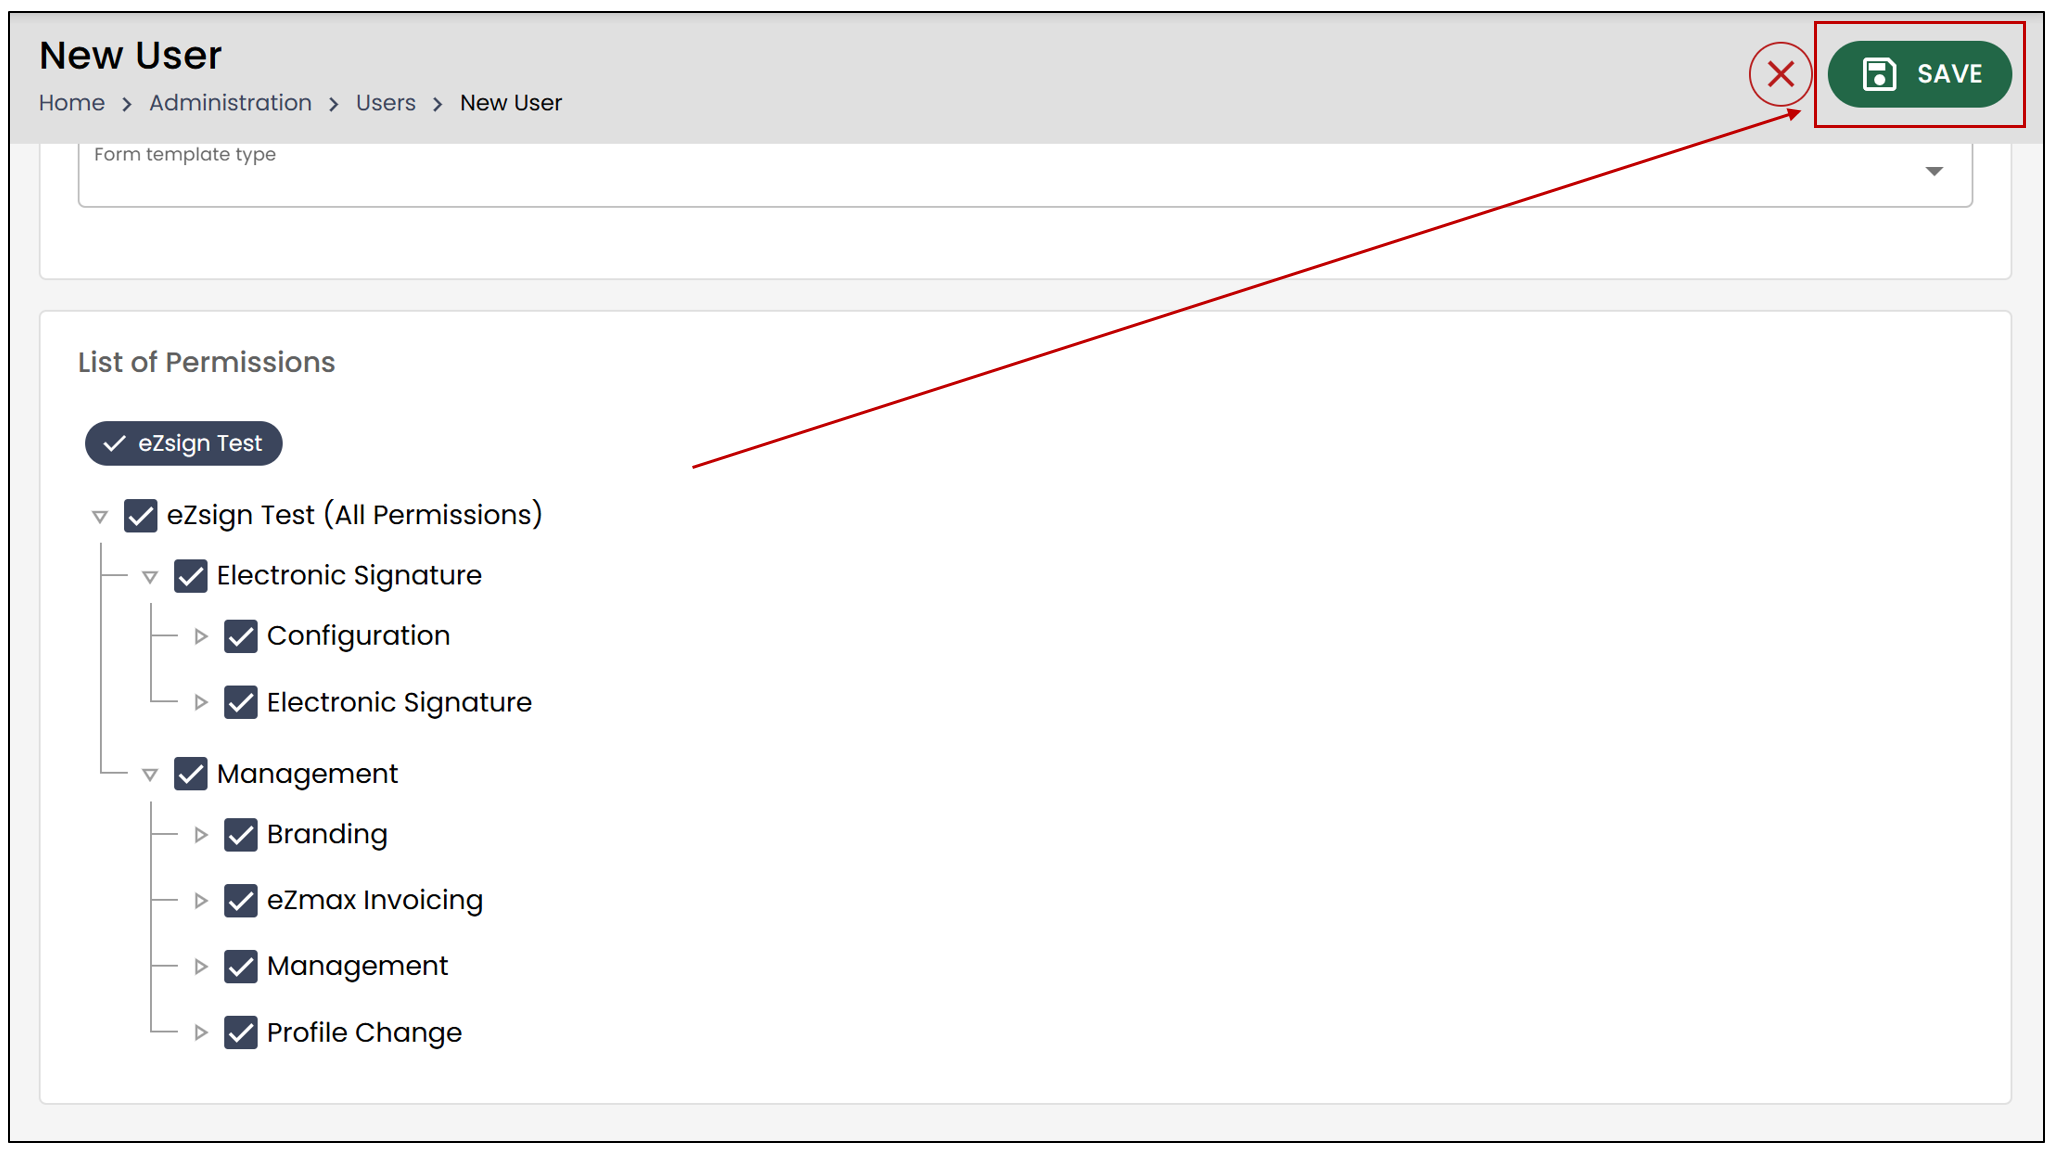
- Once all the information has been entered, click Save.
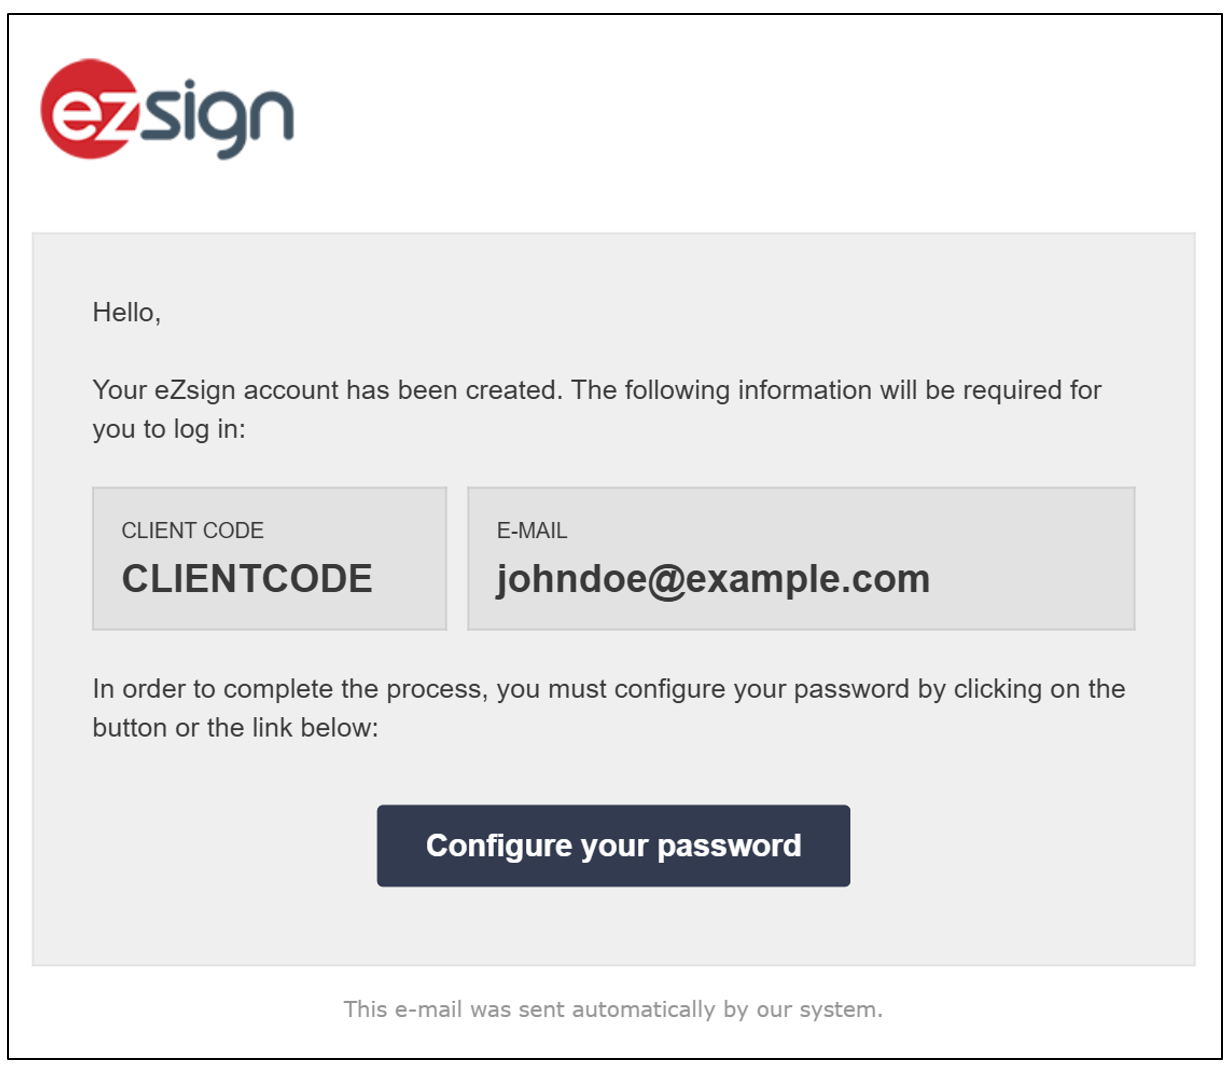
The new user will then receive an email informing them that they need to configure their password and activate their account.
Edit a User
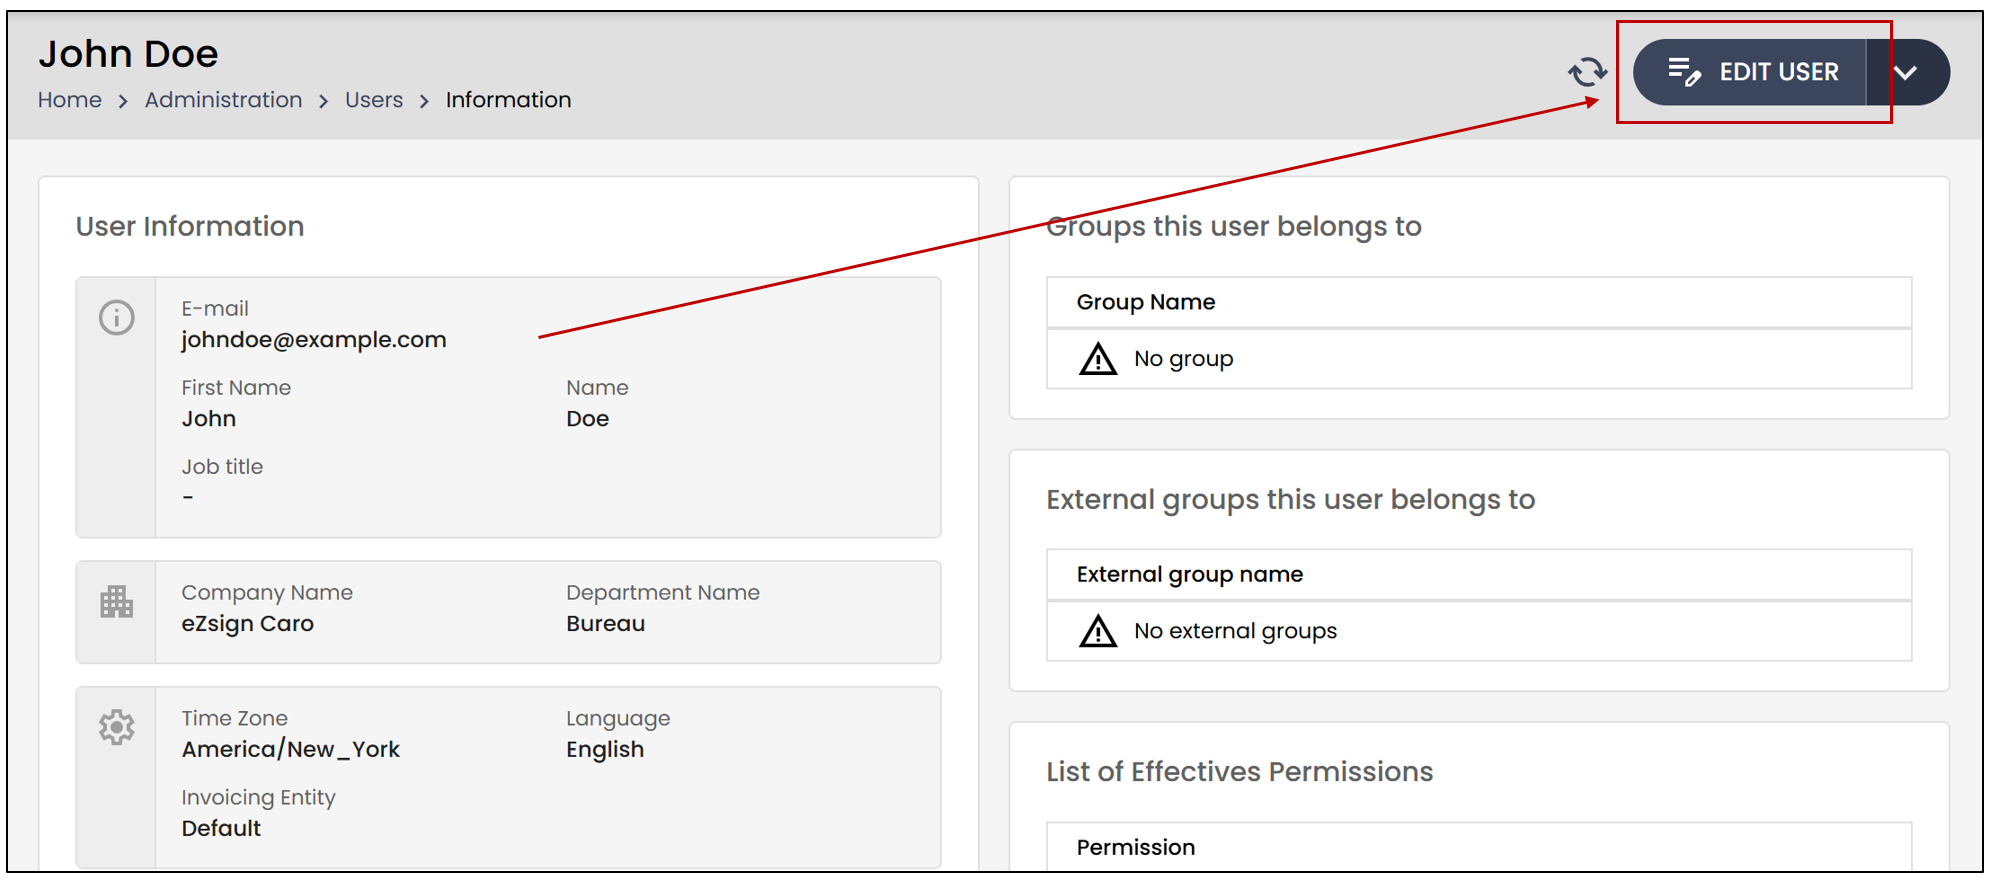
To edit an existing user, go to the main menu >> Administration >> Users.
- Select the user you want to modify, then click Edit User.
NOTE: The user’s email address cannot be changed.
- Make the desired changes, then click Save to apply them.